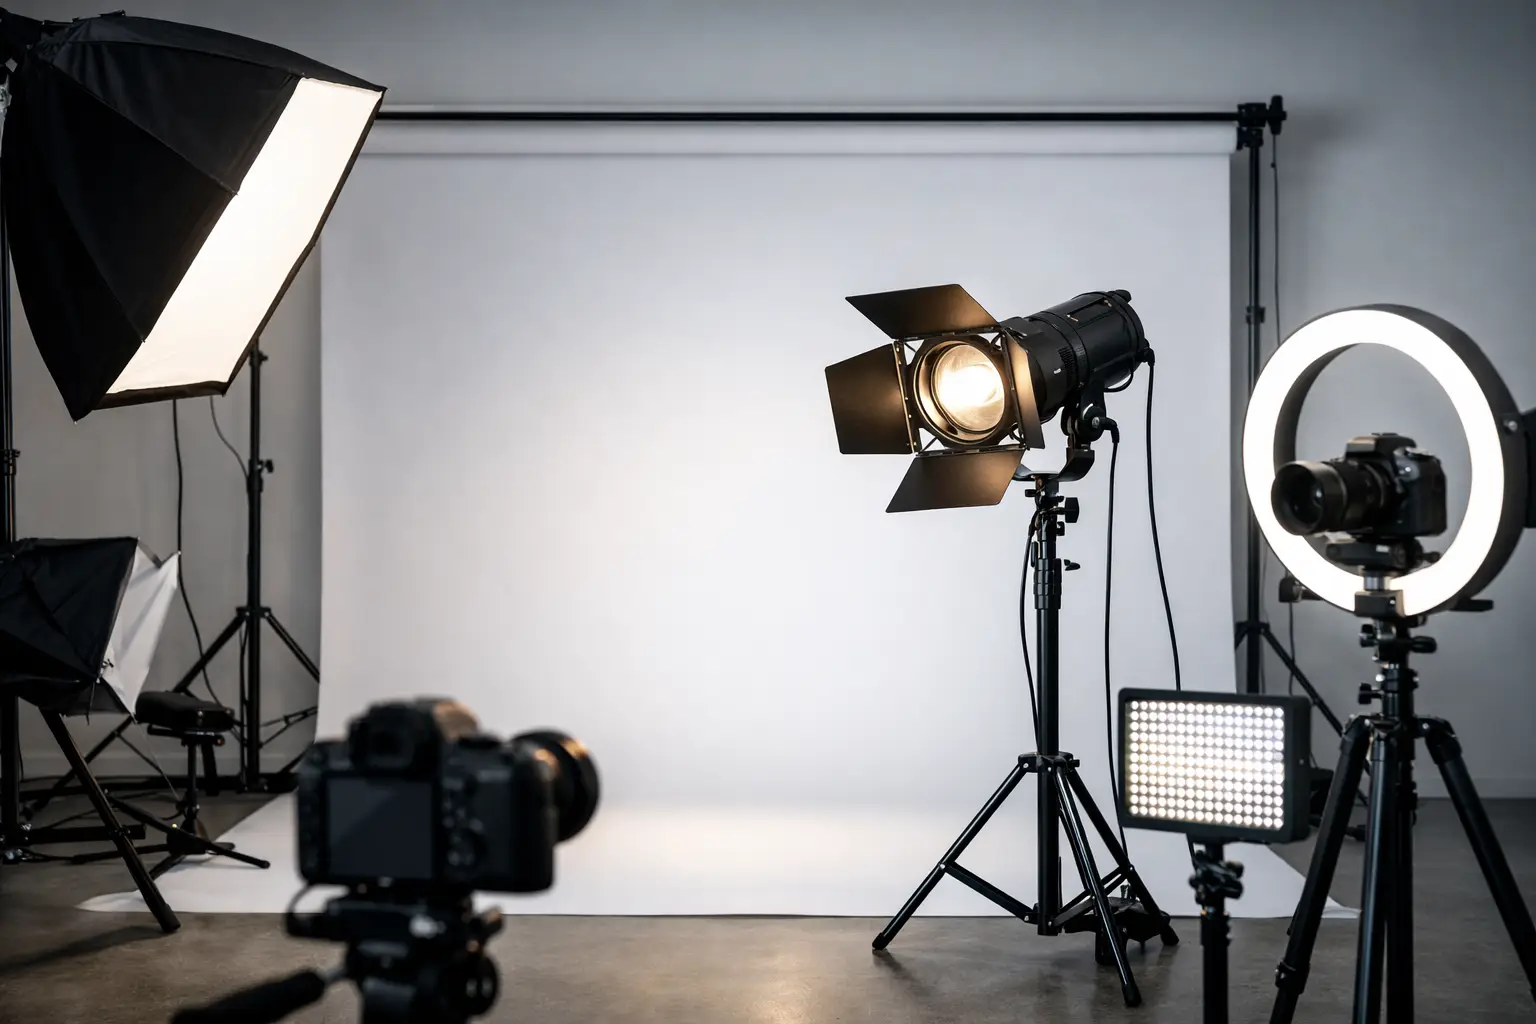
The first studio lighting kit is often chosen for the wrong reason - based on the power number, rather than on what the light is actually intended to photograph or film. That is exactly why a beginner’s guide to studio lighting should start not with brands or price ranges, but with understanding how light behaves in the frame and which equipment helps achieve a predictable result.
In brief
- Start with the work scenario — what you will photograph or film most often, not with power numbers or brands.
- One quality light source + a suitable modifier (e.g., softbox) will teach you more than many weak lights.
- LED is more convenient for learning and video, while flash gives more power and a cleaner photo result; choose based on the type of work.
- Pay attention to the size and distance of the light — they determine the hardness of the light and the character of the shadows.
- Stands, power, transmitters/triggers, and reflectors are just as important as the lamp head itself.
What to choose for different tasks
| Task | Solution | Why |
|---|---|---|
| Portrait photography in a studio | One studio flash or a more powerful LED with a medium-sized softbox and a stand. | A softbox provides soft, directional light that is forgiving on skin; a flash or powerful LED provides enough power and dynamic shooting. |
| Content video and interviews | One or two continuous LED panels or LED lights with diffusion and quiet cooling. | Continuous light lets you see the result in real time and is more convenient for video recording; silence is important for audio quality. |
| Product photography (small items) | A compact LED light with stable color rendering (good CRI), small modifiers or light tents. | Product photography requires consistency and accurate color; stable color and control over shadows are more important than maximum power. |
| Outdoor or location shooting without mains power | An LED with battery operation or a flash with a battery solution and a lightweight stand. | Battery power provides mobility and the freedom to work in places without mains electricity. |
| Beginner learning kit | One universal LED or one studio flash, a medium softbox, a quality stand, and a reflector. | This configuration teaches light direction, hardness, and the effect of modifiers without unnecessary spending. |
| Saving time in commercial projects | A reliable lighting kit with quickly assembled modifiers and sturdy stands; try renting before buying. | Convenient setup and reliability shorten working time; renting lets you test the solution in real-world conditions. |
Frequently asked questions
How do I choose between LED and a studio flash?
The choice should be based on what you will do most often — video and learning are usually better suited to LED because the result is visible immediately. For photography that requires more power and lower ISO, a studio flash is often more practical. If mobility is needed, check whether a battery option is available for the device.
How important is light power in a home studio?
Power is important, but it should be evaluated together with the modifier and the room size. In a small room, overly powerful light can create unwanted problems; more often, having enough reserve power for larger modifiers or group framing is more important. In practice, it is better to choose a solution that can be expanded later.
Which modifiers are most practical for a beginner?
The most practical start is a softbox or a deep umbrella, a stand, and a reflector. A softbox gives controlled and soft light suitable for portraits and products, while an umbrella is faster to set up. A grid and reflectors are useful when more precise light control is needed.
Do I need a transmitter/trigger if I use a flash?
Yes, a transmitter or trigger greatly simplifies synchronizing flashes with the camera, especially in wireless setups. Many flashes come with both built-in and external transmitters. Without a stable trigger system, it will be harder to work with multiple light sources.
How do I avoid color temperature mismatch?
Use lights with stable and high color rendering (CRI) and, if possible, sources from one system with the same color temperature. If you have a mixed set of light sources, set the white balance or correction in software and use light filters to match their tonal character. Check the result on location rather than relying only on specifications.
Is it worth renting equipment before buying?
Yes — renting lets you try the solution in real working conditions and check whether the power, modifiers, and mobility are suitable. It helps avoid expensive and unsuitable purchases. When renting, you can also temporarily add extra lights or stands without long-term investment.
Useful links
- Continuous lighting - See solutions and LED panels if you plan to film or work with continuous light.
- Photo studio accessories - Selection of modifiers, grids, reflectors, and other studio accessories for a beginner.
- Softboxes - A broader range of softboxes and size comparisons for portrait and product lighting.
- RENT - The option to try equipment in practice before buying or for short-term needs.
- LED light panels - Panels and solutions for video and continuous studio lighting in various sizes and power levels.
- LED lamp power supply - Information about battery and mains power options for LED lights, important for location work.
If until now you have worked with daylight, room lamps, or a simple camera-mounted flash, studio lighting may initially seem complicated. In reality, the basic logic is simple - you need to be able to control the direction, intensity, hardness, and color of the light. Once these four elements become clear, choosing equipment also becomes much easier.
What studio lighting actually is
Studio lighting is not just a powerful lamp on a stand. It is a controlled light source with a predictable result. Unlike household lighting, studio light is designed for working with photo and video cameras, so not only brightness matters, but also color temperature, repeatability, compatibility with modifiers, and ease of use.
Beginners most often encounter two main groups - continuous light and flashes. Continuous light stays on all the time, so you can immediately see how shadows and highlights will look in the frame. A flash fires only at the moment of exposure, but usually provides more power and is especially common in portrait and product photography.
There is no single universally correct solution. If you mainly shoot video, interviews, social media content, or e-commerce product clips, a more logical choice is often an LED continuous light. If the priority is photos with precise freezing of motion, lower ISO, and greater power reserve, a studio flash is usually more practical.
A beginner’s guide to studio lighting starts with the character of light
Before looking at technical specifications, you need to understand one thing - the image is determined very significantly not by how expensive the light is, but by how large it is and how close it is to the subject. This affects the hardness of the light.
Hard light creates pronounced shadows, contrast, and texture. It works well in dramatic portraits, sports content, or situations where you want to emphasize form. Soft light makes shadows more gradual and is often more forgiving for skin, products, and corporate portraits.
That is why light modifiers are not a secondary purchase. A softbox, umbrella, reflector, grid, or beauty dish can significantly change the result. A beginner mistake is to buy a good light head and save on the modifier. In practice, the opposite often happens - a mid-range light with a suitable softbox gives a better and more usable result than a powerful light without control.
Continuous LED light or studio flash
If you have to choose between these two directions, think in terms of the work scenario, not what seems more professional. Both systems are professional, they just solve different tasks.
LED light is easier to understand for a beginner. You see the result immediately, and it is easier to learn light direction, shadows, and the influence of modifiers. It is also convenient for hybrid work if you need to photograph and film in one project. The downside is that cheaper models may lack power, especially in larger spaces or when working with large softboxes.
A studio flash provides more power for a comparable budget and allows you to get a cleaner file with lower ISO. It is very effective for portrait, fashion, product, and advertising photography tasks. However, beginners should be prepared for a slightly steeper learning curve - you need to understand synchronization, triggers, and exposure balance.
If you are not sure what you will use more often, a safe starting point is one quality LED light source with a softbox or one studio flash with a simple modifier. A one-light system teaches you to think about light more precisely than a chaotic set of two or three cheap lights.
What power to choose
Power should not be assessed separately from the room, the size of the subject, and the modifier. The needs of a small home studio for headshots will differ from full-body shots or product photography on a white background.
In the LED segment, power is often stated in watts, but the actual light output level with a specific reflector or modifier is also important. Two 60 W LED models from different manufacturers can produce different results in practice. In the photo flash segment, joules or Ws are often discussed. For a beginner, this is a useful reference point, but not the only one.
If you work in a small room, photograph portraits, or create content video, you do not necessarily need to start with the most powerful solution. Too much power in a small room can create more inconvenience than benefit. On the other hand, if you plan to photograph groups, interiors, or products with large diffusers, power reserve becomes more important.
Modifiers that a beginner actually needs
You do not need the whole catalog for the first kit. What you need is equipment that allows a controllable, repeatable result. The most practical start is usually a softbox or a deep umbrella with diffusion, a stand, and, depending on the system, a trigger or power solution.
A softbox is a solid choice for portraits, interviews, and product photos. It gives soft, directed light and is usually easier to control than a simple translucent umbrella. An umbrella is cheaper and quicker to set up, but it spreads light more throughout the room. In a small space, that is not always an advantage.
A grid becomes useful when you do not want light on the background or walls. A reflector helps gather and focus the light. Meanwhile, a reflector card is often underrated - with one light and one reflector, you can get a much more professional result than with two unsynchronized lamps.
What else you need besides the light itself
A studio lighting kit is not just the light source. The stand is a safety and stability element, not a formal accessory. If you use a larger softbox, a light and unstable stand quickly becomes a problem. This is especially relevant if you work in client spaces or frequently move equipment.
You also need to think about power. Some lights run from the mains, others support batteries. Mains power is simple in a studio, but batteries provide flexibility on location, at events, or in places where access to electricity is limited.
In photo work, compatibility with the camera system and triggers is important. In video work, the noise level matters, because fan noise can affect audio recording. This is a good example of why the same light is not always equally suitable for both photo and video.
The most common beginner mistakes
The most common mistake is buying based on price or kit size. Two or three weak lights are not always better than one quality source. The second mistake is ignoring the room. White walls help reflect light, dark walls absorb it, and low ceilings limit placement.
The third mistake is mixing color temperatures. If part of the light is daylight-toned and part is warm, white balance correction becomes more difficult. The fourth mistake is underestimating setup speed. If the equipment takes too long to set up, you will in practice use it less often.
It is also common to immediately want to build a full three-point lighting system. From a learning perspective, it is much more valuable to start with one key light and understand how the result changes by moving it closer, farther, higher, or to the side. Once this base is mastered, the other lights become a conscious addition rather than a guess.
How to put together your first kit without unnecessary spending
If the goal is portraits or content video in a small room, a starter kit usually consists of one light, one medium-sized softbox, a quality stand, and a reflector. That is enough to learn the main principles and get a professionally usable result.
If you photograph products, especially small items, the priority is often not maximum power, but precise control and consistency. In that case, a compact light with stable color rendering and a suitable modifier or light tent solution will be useful.
If you are not sure about long-term needs, a rational step is to try the equipment in practice at first or choose a system that can later be expanded. That is more important than the theoretically best specification. A good system is one to which you can add a second light, other modifiers, and, if needed, a battery solution.
A beginner’s guide to studio lighting is not about making it complicated
The properly chosen first light does not just make the work technically better. It reduces unpredictability, speeds up the shoot, and helps achieve a more consistent result across different projects. That is the main benefit both for a hobby user and for a company creating content for its channels.
If the choice still seems too broad, focus on three questions - what you will photograph or film most often, how large the space is, and whether you need mobility. The answer to these usually says more than a long list of specifications. And a good start in studio lighting is almost always simpler than it seems at first.