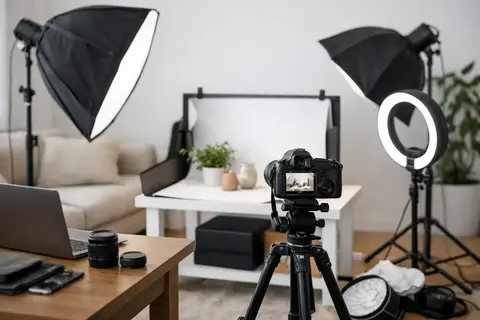
The moment when a sheet is thrown over a chair in the kitchen and the lamp from the living room suddenly becomes “studio light” usually ends the same way - with uneven lighting, harsh shadows, and extra time in post-production. If you’re looking for how to set up a home photo studio so the result is predictable and repeatable, you should start not with the camera, but with the task. Portraits require one solution, product photography another, and video content yet another.
In brief
- Start with the need — portraits, products, or video — and assemble the equipment based on the task, not on impulse.
- Invest in stable lighting and basic modifiers (softboxes, diffusers) — light shapes the image more than the camera.
- Choose sturdy stands and a backdrop system; cheap accessories cost more time than they save.
- If a multi-purpose mode is needed (photo + video), prioritize a quality LED solution; if mainly photo, consider a flash.
- Test and rent specialized equipment before making a major investment if projects are infrequent or variable.
What to choose for different tasks
| Task | Solution | Why |
|---|---|---|
| Portraits in the studio | One main light source with a softbox, another diffuser or reflector for softening shadows; a stable camera tripod and a 50–85 mm equivalent lens. | This setup provides soft, controlled light and a convenient workflow for portrait sessions. |
| Product photos for e-commerce | A uniform background (paper or fabric), a background stand, two small LEDs or flashes with diffusers, and reflectors for shadow control. | A controlled background and even lighting ensure consistent, easy-to-process images. |
| Video content and vlogs | High-quality continuous LED light with adjustable power and color temperature, quiet fans or panels that ensure cool operation, a stable stand or gimbal. | LED allows you to see the result in real time and is also suitable for video, where flash cannot be used. |
| Macro or detail photos in a small space | Compact LED panels or small softboxes, a macro lens, and a sturdy micro mount or table for securing objects. | Compact solutions help avoid problems with ceiling height and space constraints. |
Frequently asked questions
Should you choose a flash or LED for a home studio?
If the main thing is photo (portraits, catalogs), a flash usually gives more power and control over sharpness. If video is also planned or you need to see the light pattern immediately, a high-quality LED solution will be more practical.
What background should you choose for e-commerce products?
A white paper background is a classic solution when you need a clean commercial look, but it requires proper lighting for the background in your image to be truly white. A gray background is more versatile for everyday use, as it can be brightened or deepened with separate lighting.
Which accessories pay off the fastest in a studio?
Sandbags for stand stability, a good reflector, a color chart for white balance, and reliable extension cords with surge protection. They are not expensive, but they reduce setup time and the number of mistakes during sessions.
Is it worth renting equipment before buying it?
Yes — renting lets you try out a specific light or modifier in action in your space before making a big investment. It’s especially useful if projects are less frequent or if you’re not sure about the right solution.
How to avoid harsh shadows in a home studio?
Use larger diffusion (a big softbox or reflector) and add an extra fill light or reflector in the opposite direction. Choosing the correct light distance and angle also significantly reduces harsh shadows.
What to do if the ceiling height limits the placement of lights?
Choose more compact lighting solutions, such as thinner LED panels or lower-mounted softboxes; use mirrors and reflectors to move the light without needing to raise the lamps high. It also helps to place the light more to the side rather than directly above the model.
Useful links
- Continuous lighting - General information about LED and other continuous lighting solutions for a home studio.
- Photo of the phone - Choice between paper, fabric, and other backdrops, as well as backdrop stands for ensuring stability.
- Phones, Holders, Reflectors (rental) - The option to rent more specialized backdrops, holders, and reflectors to try out solutions before purchasing.
A home studio does not have to be large or expensive. It has to be logically assembled. A properly chosen room, stable light, a suitable background, and a few reliable stands will give you more than randomly bought gear. That’s exactly why it’s worth understanding where you can save and where you shouldn’t.
How to Set Up a Home Photo Studio According to Your Work
The first question is simple - what will you photograph most often. If it’s portraits, what matters is space for the person, the distance between the background and the model, as well as sufficiently powerful and soft light. If you photograph products for e-commerce, the priority will be controlled shadows, an even background, and the ability to repeat the same setup for many shots.
For content creators and small businesses, a hybrid solution is often needed - a space where you can shoot product photos one day and record an interview or social media video the next. In this case, the most important thing is a modular kit. That means lights that can be used for both photography and video, a background system that can be changed quickly, and stands that can withstand daily repositioning.
The wrong approach is to build a studio on the principle of “I’ll take a little bit of everything.” The better approach is to create one solid basic scenario and only then expand it.
The Room Is More Important Than It Seems at First
A home studio does not necessarily require a separate commercial space, but the room should be predictable. Ideally, you should be able to control daylight with blinds or curtains. If window light changes from shot to shot, it will be harder to maintain consistent exposure and white balance.
For portrait photography, a room with at least a couple of meters of depth between the background and the camera is practical. This helps avoid unnecessary shadows on the background and gives flexibility in lens choice. For product photography, even a smaller corner is enough if you can keep the setup unchanged there.
Another often overlooked factor is ceiling height. If the ceilings are low, using large softbox solutions and high-positioned lights will be more difficult. That doesn’t mean you can’t set up a studio, but the equipment should be more compact.
Light - the Main Element in a Home Studio
If you have to choose where to invest first, the answer is almost always light. The camera affects image quality, but light is what shapes the image’s character. In a home studio, it is most practical to start with one main light source and one support tool - a reflector or a second light.
For portraits, a classic starting point is one studio flash or continuous LED light with a softbox. Flash gives more power and is very effective for photography. LED is more convenient if you are also filming video alongside photography or if you want to see the light pattern immediately without test shots. The trade-off is that LED solutions often need more power, especially if you want to work with a lower ISO and a smaller aperture.
In the case of product photography, control is often more important than power. Two smaller light sources with diffusion can be more useful than one very powerful lamp. For shiny objects - glass, metal, cosmetics packaging - careful control of reflections is needed, and that is helped not only by light but also by diffusers, flags, and reflectors.
Cheap lighting may seem like a good start, but in practice problems appear quickly - inconsistent color temperature, weak mounts, imprecise power adjustment. If you will use the studio regularly, stability matters more than a theoretically lower starting price.
 ProductNewell Air Artha Max XL 55.8cm LED LampView product
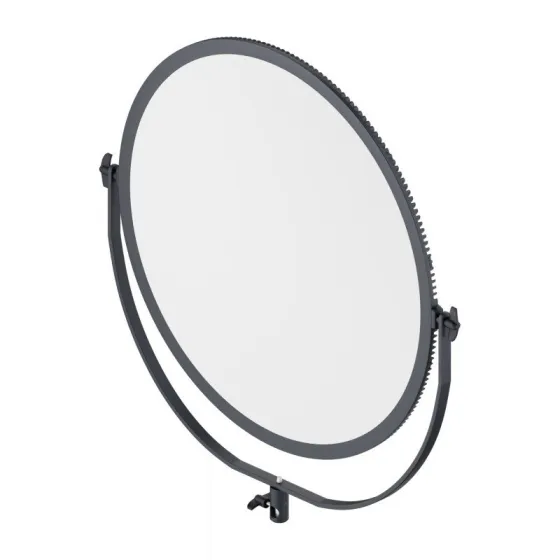
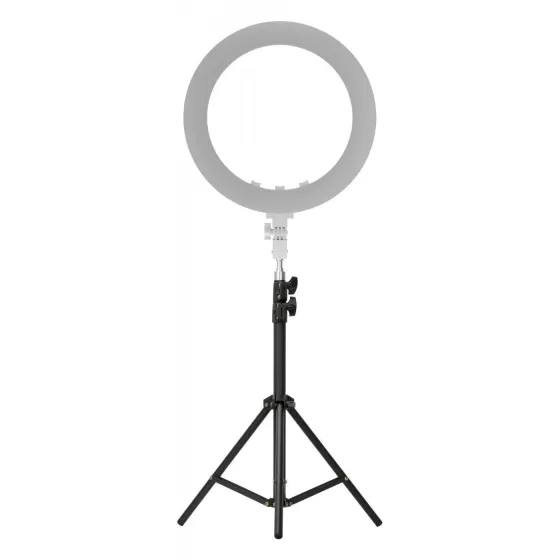 ProductNewell RL-18A Arctic White WB (3200 K - 5500 K) LED ring with 140cm tripodView product
Flash or LED - Which to Choose
If your priority is photography, especially portraits and product catalogs, a studio flash usually offers a better price-to-power ratio. It lets you work with a lower ISO, get a sharper image, and more easily “cut out” ambient room light.
If you create content in both photo and video formats, a high-quality LED system will be more practical. It is easier for a beginner to understand because the result is visible immediately. However, you should expect more heat, possible fan noise in some models, and a higher power requirement.
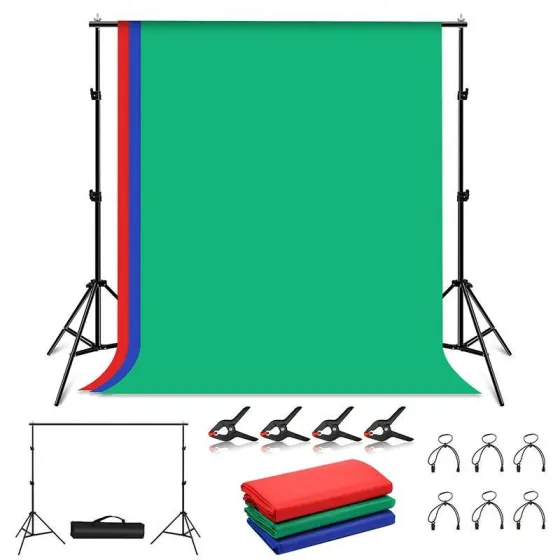
Background and Background System
A good background solves more problems than is apparent at first glance. It reduces the impact of clutter in the frame, helps simplify composition, and allows you to maintain a consistent visual style. For a home studio, the most universal starting point is a paper or fabric background in a neutral tone.
A white background is suitable for e-commerce and a clean, commercial look, but it requires separate lighting if you want a truly white, not grayish, result. A gray background is more practical for everyday use because it can be lit in different ways to achieve both lighter and darker moods. A black background works well in dramatic portraits and product photos, but it requires good light control so the background doesn’t get “dirty” with random reflections.
The background stand system does not have to be complicated, but it does have to be stable. If the background falls, bends, or wrinkles, time is lost in every session. This is one of those points where it’s better not to buy the most fragile option.
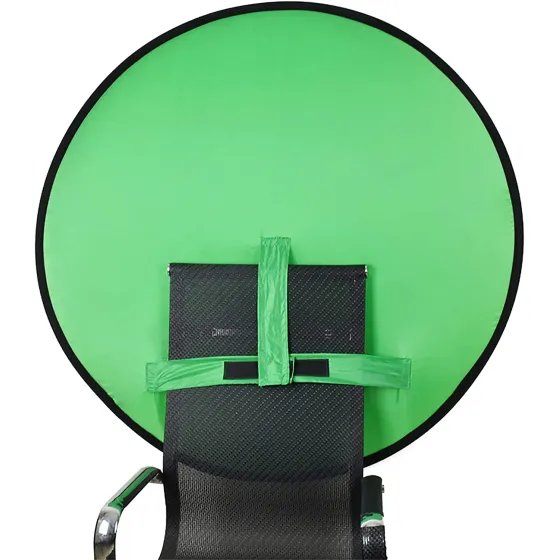 ProductFrancier WGB-130 webcam backgroundView product
 ProductPuluz Photo studio background support 2x2m + Backdrops 3 pcs PKT5204View product
Stands, Holders, and Other Basic Elements
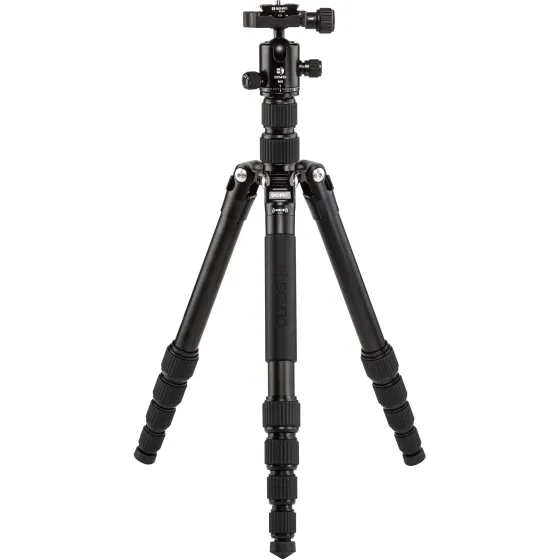
A home photo studio is rarely ruined by lens choice, but very often by weak accessories. A poor-quality light stand, unstable boom holder, or awkward clamp creates problems every time you set up. That’s why the foundation of the equipment should be mechanically reliable items.
For the camera, a tripod is useful not only for longer exposures. It helps maintain the same framing in product photography, speeds up batch work, and makes focusing easier. Light stands must match the weight of the light and modifier. A large softbox on a lightweight stand is not savings - it’s a risk.
Simple extras are also useful: sandbags for stability, a reflector for softening shadows, power strips with surge protection, and a color chart for more accurate white balance work. They are not the most visually impressive purchases, but they pay off very quickly in studio work.
 ProductBenro FTR19AB0GBLK foto statīvsView product
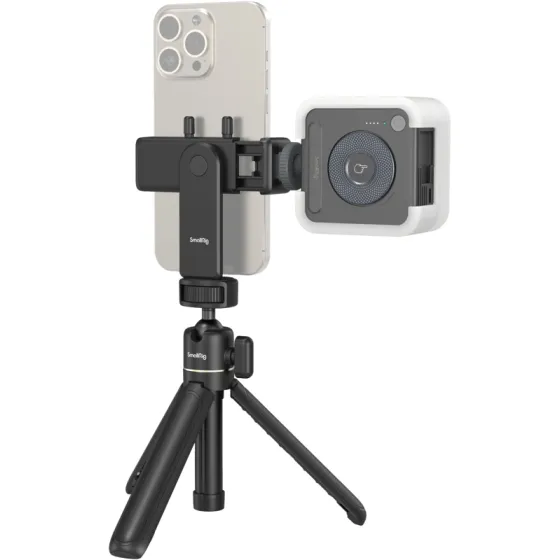 ProductSMALLRIG 4367 SMARTPHONE VLOG TRIPOD KIT VK-30 ADVANCED VERSION 4367View product
Camera and Lens - What’s Enough at the Start
If the question is how to set up a home photo studio from scratch, many people start with the camera. That’s understandable, but not always optimal. If you already have a modern mirrorless or DSLR camera with manual exposure options, it is usually enough. In a studio environment, light and lens determine much more.
For portraits, a safe choice is a 50 mm or 85 mm equivalent lens. For product photography, a standard or slightly telephoto range often works better, depending on the size of the subject. If you photograph small details, a macro lens is useful. A wider lens in a small room may seem like a lifesaver, but it often creates perspective distortion, especially in portraits.
More important than sensor size debates is understanding whether the camera supports convenient tethered work, whether it has reliable autofocus, and whether it works well with the chosen lighting system. In practical workflow, these factors are more noticeable than theoretical specification comparisons.
Three Practical Kits for Different Budgets
At entry level, one light source with a softbox, one reflector, a background with a stand system, and a stable camera tripod are enough. Such a kit is suitable for portraits, small products, and social media content if the setup is simple.
At mid-level, a logical step is to move to a two- or three-light setup. This provides a separate key light, background or rim light, and greater control over shadows. It is precisely at this stage that a home studio begins to work really productively, because the result can be repeated from session to session.
If the studio is used commercially on a regular basis, you should think about more durable stands, more powerful light sources, several modifiers, and the possible rental of equipment for specific projects. That is more rational than immediately buying everything possible. Sometimes the smartest move is to buy the base and rent equipment for less frequently needed items.
The Most Common Mistakes When Setting Up a Home Studio
A typical mistake is a room that is too small, with no ability to step back from the subject. The second is too much emphasis on the camera and too little on the light. The third is choosing cheap stands and mounts that cause more problems in everyday use than they save money.
Another mistake is trying to solve absolutely all tasks with one kit. Universal equipment exists only up to a certain limit. If one week you need to photograph jewelry, the next full-body portraits, and then a video interview, you will need to make compromises or build a system with expansion options.
If you are not sure about the right configuration, it is especially valuable to be able to compare equipment categories, consider renting for testing, and consult a specialist. This is exactly how you can avoid purchases that look good on paper but don’t work in a particular room.
A home studio is not just gear in the corner of a room. It is a work environment that should help you work faster, more accurately, and with less post-processing burden. If you build it step by step, with a clear order of priorities, the result will be much better than trying to buy a “full kit” all at once. And if at some point it feels like there are too many choices, a good solution is to start with one proven base and add the rest only when real work requires it.