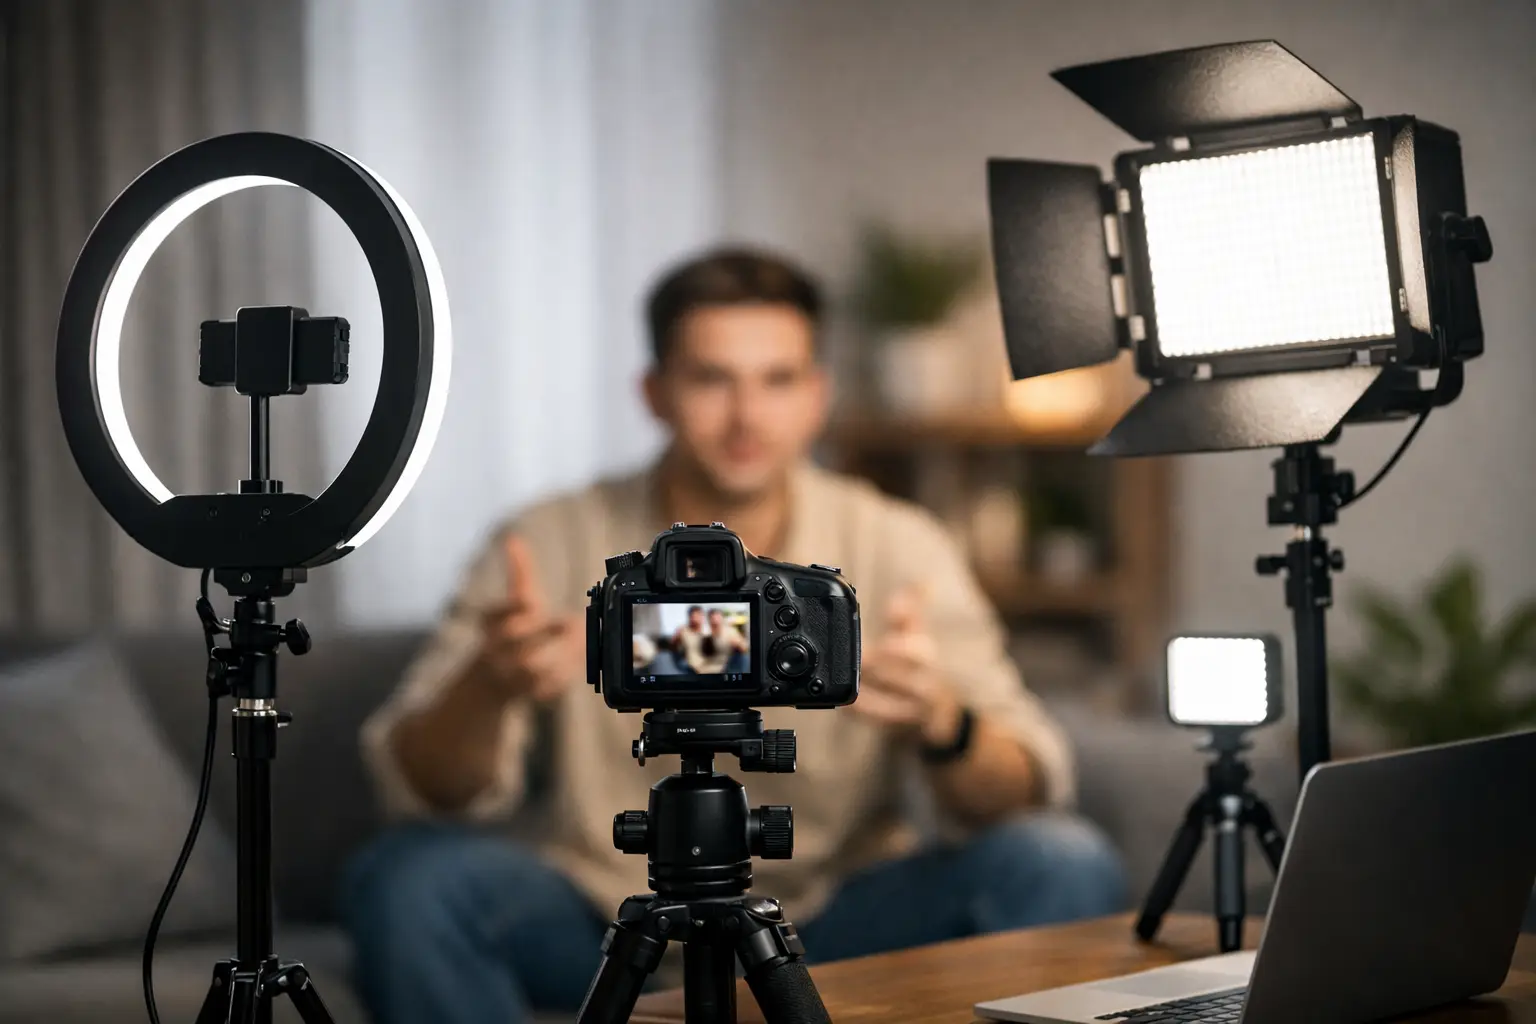
When the frame looks flat, skin tone turns grayish, or unwanted shadows appear in the background, the problem is often not the camera. Video light for YouTube filming usually affects the final result more than the next camera or lens upgrade. That is exactly why choosing lighting is one of the first decisions worth making deliberately.
In YouTube content, light plays a dual role. It not only makes the image technically cleaner, but also shapes the perception of the brand, the creator, and the quality of the content. The needs for an interview, product review, podcast video, and vlog will differ, so a universal solution is not always the best one.
Why video light for YouTube filming is so important
A camera can record 4K, shoot with a good dynamic range, and use a high-quality lens, yet poor lighting will quickly reveal limitations. Noise will increase, skin tone will look lifeless, autofocus will work less reliably, and editing will take more time as you correct exposure and color.
Good lighting solves several problems at once. It helps keep ISO lower, ensures predictable color temperature, and allows you to reproduce the same visual result from shoot to shoot. If a channel is produced regularly, this consistency is very important.
Another practical benefit is flexibility. Properly chosen video light will work not only for YouTube, but also for live streams, ad clips, course recordings, product photography, and remote interviews. This is especially important for content creators and business teams that use the same equipment across multiple formats.
Which type of light to choose
The first question is not about the brand, but about the character of the light. In YouTube filming, LED panels, COB-type continuous lights, and compact on-camera lights are most commonly used. Each option has its own use case.
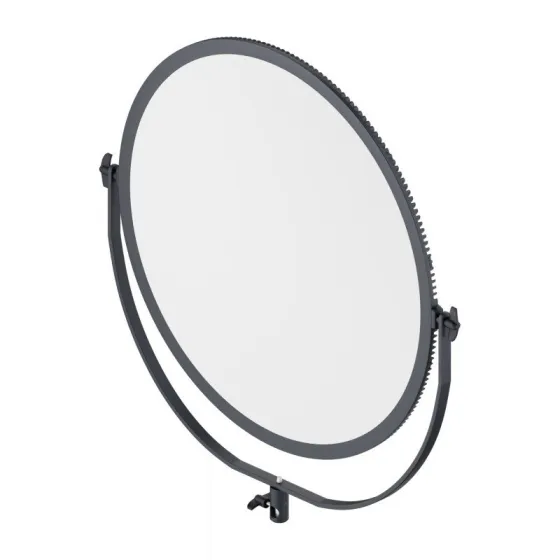
An LED panel is a simple and fast solution. It is easy to set up, compact, and many models allow you to adjust brightness and color temperature. This option works well for talking-head videos, small studios, remote interviews, and content where quick setup is needed.
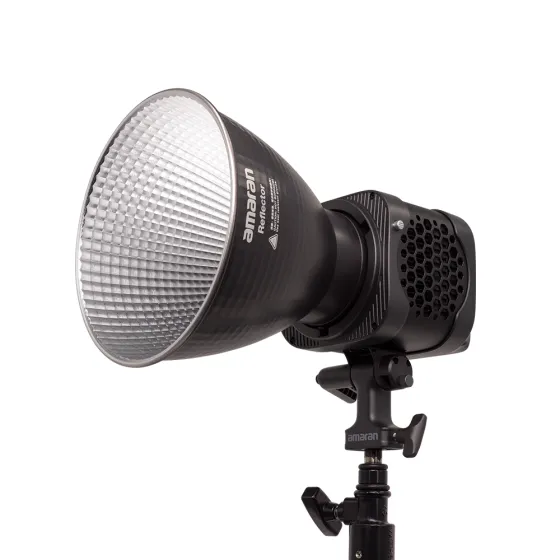
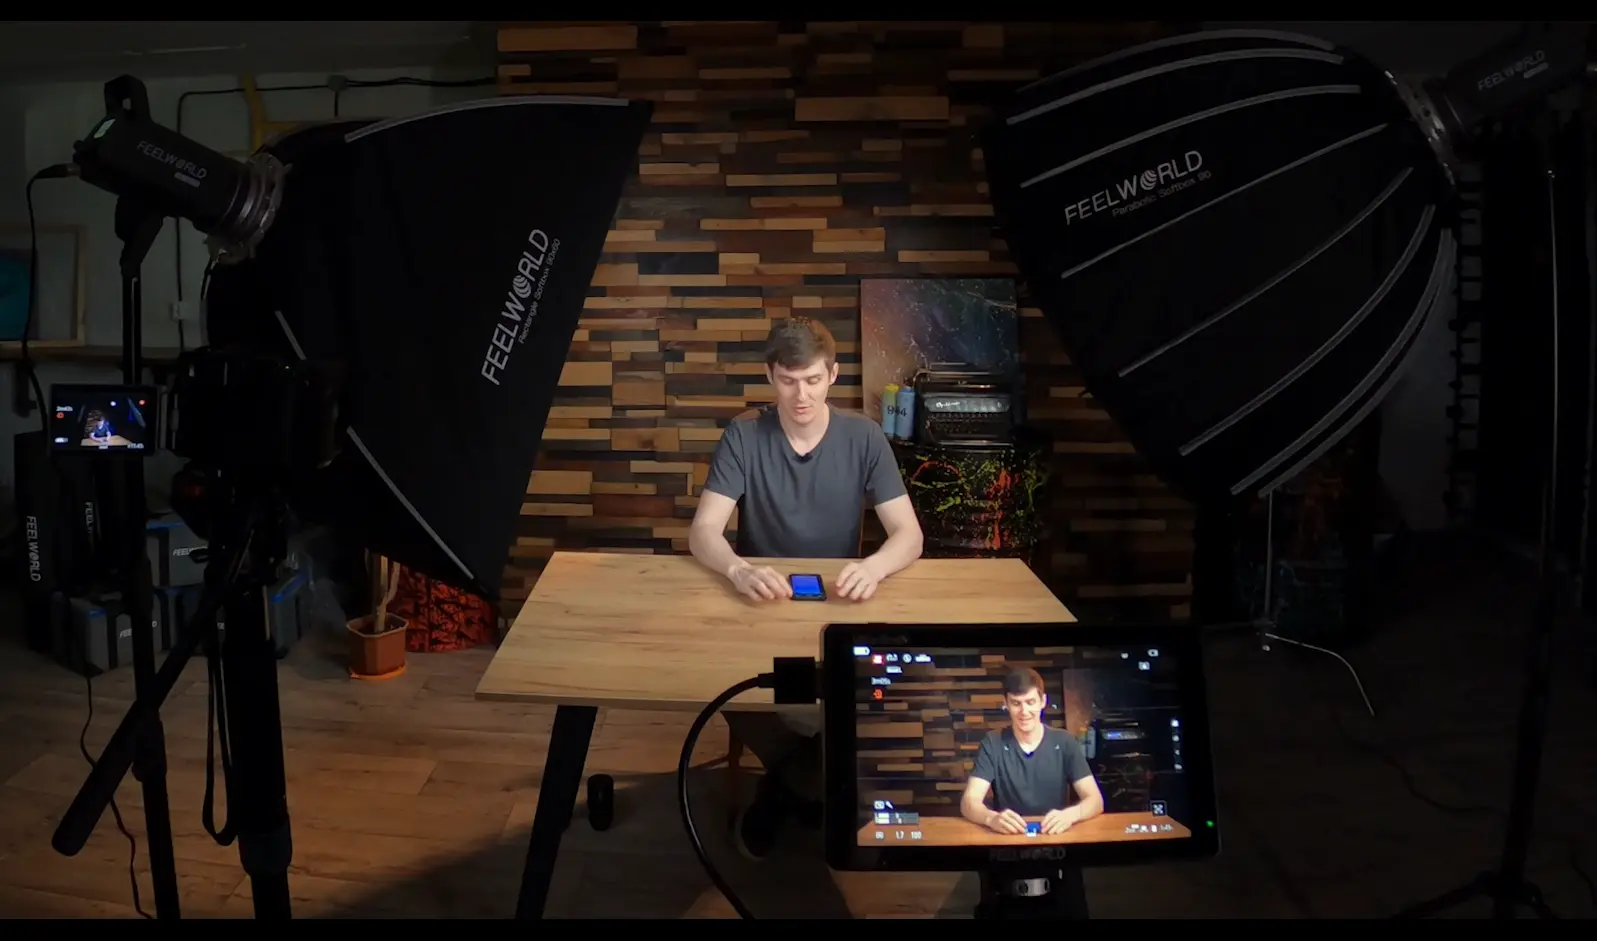
A COB-type light usually delivers a more powerful and controllable result. It works better with light modifiers, such as softboxes, lanterns, or reflectors. If you are creating more professional YouTube content with more pronounced light shaping, depth in the frame, and controlled shadows, this is often a better investment than a panel.
On-camera light is useful for mobile filming, reporting, or situations where there is no time to build a full setup. However, as the main light for studio-style YouTube filming, it is usually too hard and limited. Here, the trade-off between mobility and image quality must be considered.
 ProductNewell Air Artha Max XL 55.8cm LED LampView product
 ProductAmaran Halo 200x Compact, 200W bi-color Bowens Mount COB lighView product
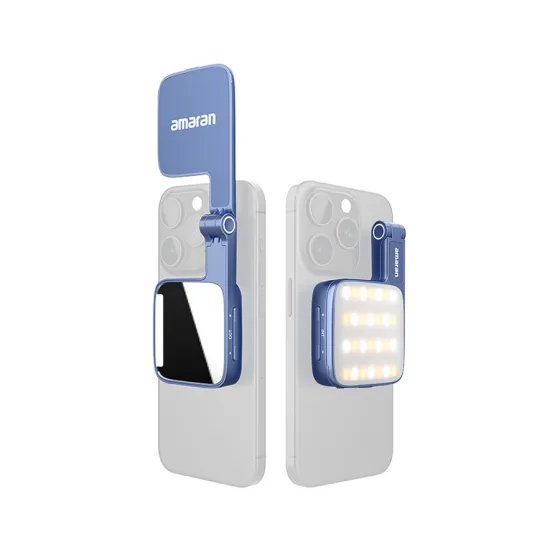 ProductAmaran Go Blue magnetic phone LED light Single unitView product
Key parameters that really affect the result
If you have to choose between visually similar models, it is important to look not only at the body or the price, but at the technical specifications. One of the most important is power. For a small room and a chest-up frame, moderate power may be enough, especially if the light is close to the subject. A wider frame, a larger softbox, or a bright room with daylight will require more.
The next parameter is color rendering. A high CRI and TLCI rating reduces the risk of skin tone looking unnatural. In YouTube content, this is very noticeable, especially when filming people, cosmetics, clothing, or products with specific colors.
Color temperature is also important. Bi-color lights allow you to adapt to different conditions and are practical in rooms where window light and artificial lighting mix. Single-temperature lights, on the other hand, often offer more power for the same budget. If filming takes place in a controlled environment, this can be a more rational option.
Attention should also be paid to cooling and noise level. Some more powerful lights have fans, and in a quiet room they can be audible in the microphone. If you are recording a podcast, conversation, or voice-over in a small studio, this is not a minor detail.
One light or a full kit
Many people start with one light, and that is often the right decision. If the budget is limited, it is better to buy one quality key light with a suitable modifier than two or three weak lights that cannot provide enough output. With one soft key light and a properly placed reflector, you can achieve a very professional result.
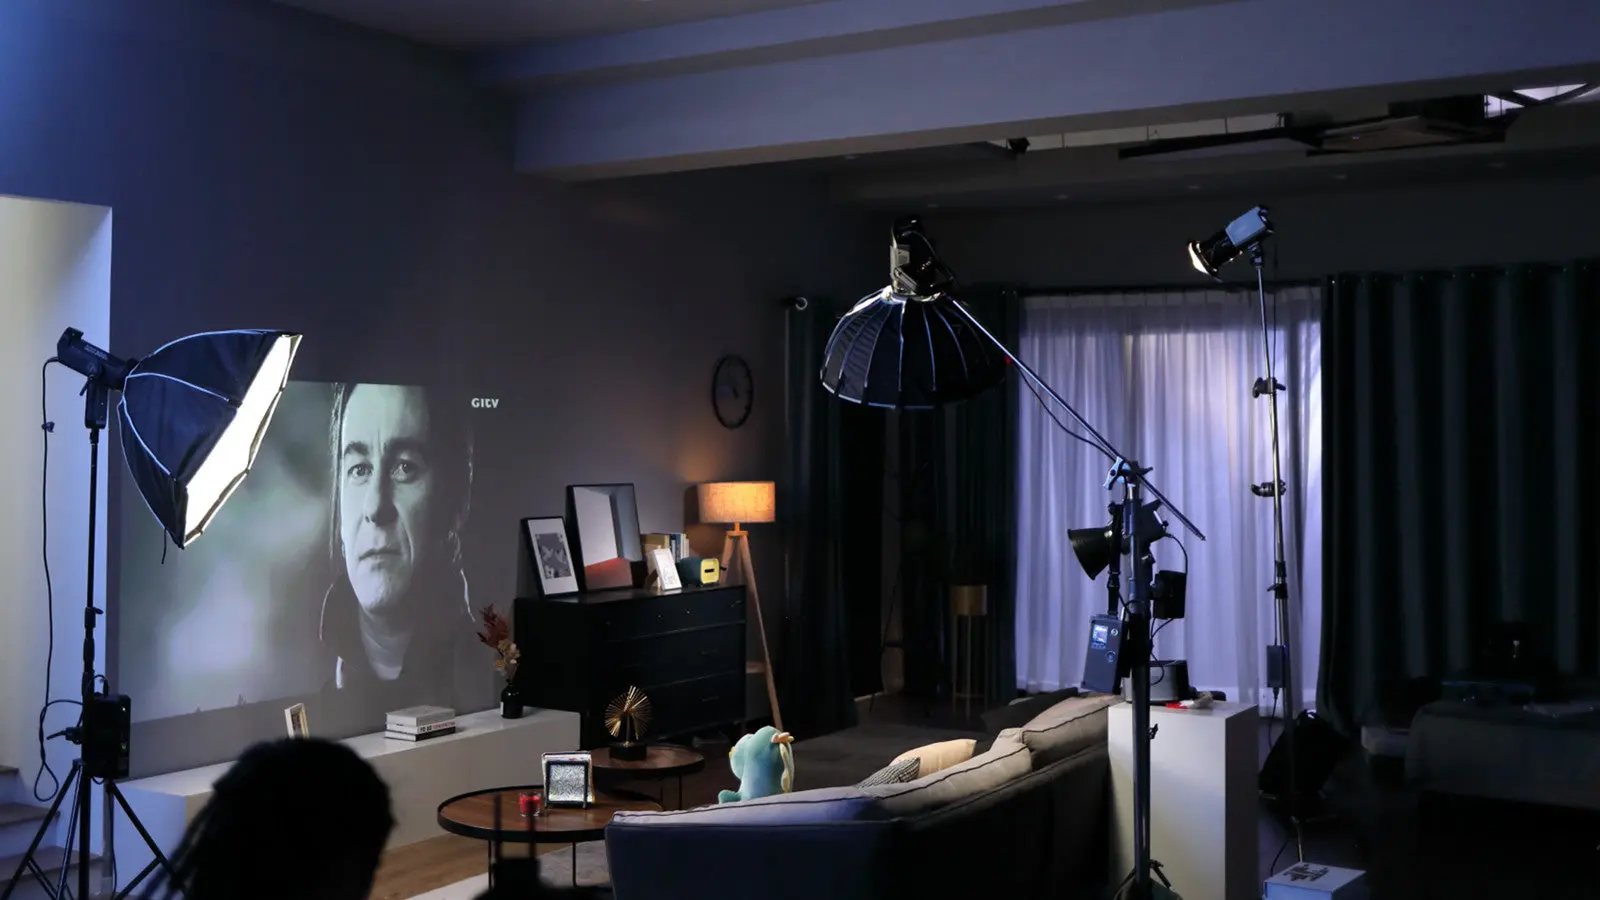
A two-light kit becomes useful when consistency and greater control are needed. Then one is used as the key light, the other as fill, backlight, or a background accent. This setup works well for interviews, product demonstrations, and channels where visual identity is an important part of the brand.
Three or more light systems are more suited to studio work, advertising videos, or more complex scenography. That does not mean more lights automatically produce a better image. If there is no clear task for each source, the frame can become overdone and unnatural.
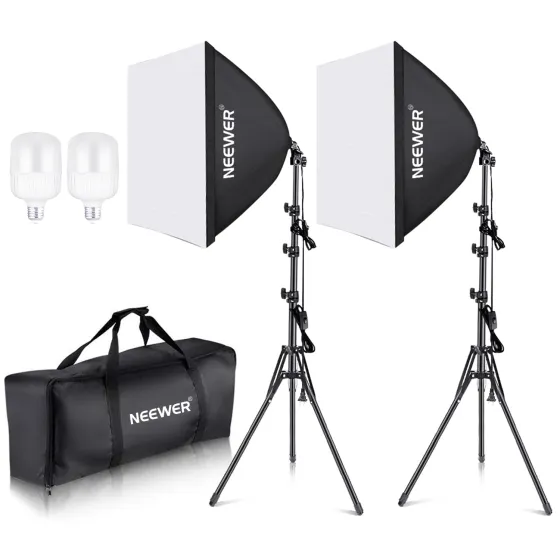 ProductNEEWER NK200, 2x 35 watt LED softbox set with tripodsView product
Video light for YouTube filming in a home studio
At home, the biggest challenge is usually not just lack of space. Often the problem is mixed light - a window on one side, a warm ceiling lamp on the other, a monitor in front, and an LED strip in the background. In such an environment, even a good camera will produce an unstable result.
That is why in a home studio it is worth starting with a simple, controllable setup. Turn off the room lighting, choose one main light, and arrange the background so it does not compete with the face. If the room is small, softer light with a softbox or diffusion will usually give a more flattering result than bare, hard light.
If you often film at a desk, models with a compact stand system and quick setup are practical. If filming takes place in different locations, it makes sense to look at portability, battery power, and the total weight of the kit. This is exactly where equipment rental or a consultation before purchase often helps avoid an unsuitable solution.
How not to overpay and not to buy too little
A common budgeting mistake is spending the entire amount on the light itself and forgetting about accessories. In real use, you also need a stand, a modifier, sometimes a grid, batteries or mains power, as well as a carrying bag. Without them, even a good light source does not always show its full potential.
The second risk is buying a solution that is too weak with the idea that it will be enough to start with. Sometimes that works, but often after a few months there is a need to film a wider frame, use larger diffusion, or work in a brighter room. Then the initial savings turn into double costs.
A more practical approach is to choose the light based on real scenarios. If the content is mostly one presenter at a desk, the needs will be different from a team filming interviews, courses, and product videos. That is why a consultation at a specialized store or renting equipment before buying can be a rational step, especially when choosing between several classes and formats.
What else to consider so the image looks professional
Light alone will not save a bad frame. The distance between the light and the subject, the height of the light, separation from the background, and the white balance set in the camera all matter. Even a high-quality video light for YouTube filming can produce an average result if it is placed too high, too far away, or without diffusion.
You should also think about the background. If the face is well lit but the background is completely dark or visually chaotic, the overall impression will still be weak. Often a small background light or accent light does more than a second strong key source.
Repeatability is important. If you publish content regularly, the setup should be something that can be quickly recreated the next time you film. That is why in a professional approach, not an exotic solution often wins, but a stable, predictable system that works every week.
If you are looking for equipment for more serious YouTube work, it is worth viewing light as a working tool rather than just an accessory to the camera. A properly chosen system lasts a long time, adapts to different formats, and lets you focus on the content instead of fighting shadows, color shifts, and inconsistent images. That is exactly why a good decision about lighting usually pays off faster than it first seems.